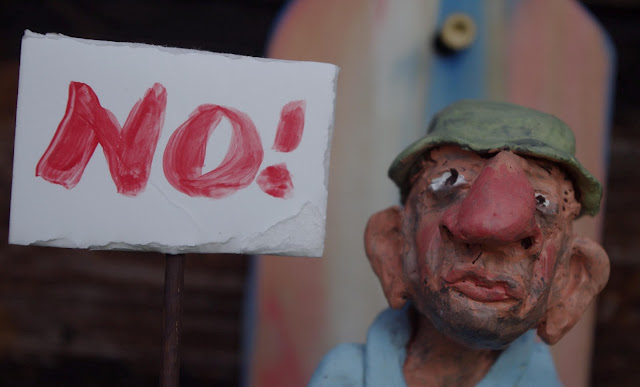
Posts

CHARCOAL KILN EXPERIMENT

Image
  The pieces shown here were painted with exterior acrylics after firing in my charcoal kiln. I only recently started working and playing with ceramic clay, and I wanted a way to fire my experiments without access to an electric kiln. I wouldn't have known where to start without a great video on Youtube by Tony Soares, a Native American potter. My three pots were bone dry. It was chilly outside where they sat, so they were cold to the touch,  I preheated them in our kitchen oven, starting at 175 degrees and working up to 500 degrees. The process took about an hour.  I had the idea of building the kiln inside our fire ring for safety, but as it burned I saw it wasn't necessary and, thinking the ring might impede air flow, I eventually removed it. To build my kiln, I first placed a piece of sheet metal on the ground and made the base on top of it. I happened to have these bricks with holes in them, and thought they would enhance air flow. I placed a small metal grate on bricks. C

"Jazz" Polymer Clay/Mixed Media Sculpture

Image
This is a large piece. The figures are about 11.5 inches tall and made of Super Sculpey over steel and aluminum wire. The bricks are of foam board, the floor of craft sticks, and rest are of bits and pieces. All are painted with acrylics.  

Halloween Fun With Cement

Image
  Some experiments with various mortars -- playing in the mud. 

"Sculpting" Mortar Recipe -- Cement Clay

Image
Current formula for "sculpting mortar"  -- 10 parts sand 6 parts clay dust 2 parts Portland cement 3 parts builder's lime This mix is light and malleable and has held up well for me outside. I sometimes add a little joint compound or asphalt emulsion. I generally mix the dry ingredients in a cement mixer and store it in five gallon buckets. I'll mix a few cups at a time with water. I mix it very damp but clumpy. I'll dip my gloved hand in water and massage a palm full of the mix, which becomes wet and  malleable very quickly.  When I thought of adding clay to an earlier recipe  I searched for  "powered clay," and local shops  didn't know what I was talking about. I found clay dust online sold by the bag at The Ceramic Shop in Pennsylvania.  I get builder's lime at a supplier for concrete products. I cover the work with wet towels and plastic bags to reduce the little hairline cracks that can form as  mortar dries. I've been staining some of t

Reworked Papercrete "Gazebo"

Image
] The papercrete "gazebo" structure that I made years ago was showing some deterioration, especially the areas where the papercrete was most exposed to weather. I used type S mortar to cover the weathered papercrete, and reworked most of the faces using my "sculpture" mortar mix. The papercrete "trees" on the back side of the structure had held up well, so I left them except to stain them with exterior wood stain, to bring them out a bit and help preserve them. 

FERROCEMENT TOTEM POLE

Image
This is a two sided effort that stands about 8 ft. tall, made from a treated 4x4 post covered with hardware cloth and chicken wire. I've been using a mortar recipe that includes sand, clay dust, portland cement, builder's lime, joint compound, and asphalt emulsion. I used exterior wood stain to color it. 

Blues Cats II

Image
  I made another piece with the idea of "blues cats." I wanted them more expressive. The standing figure is about 11 inches tall, and both are made with Super Sculpey over copper and aluminum wire. The gutiar is luan and balsa wood, tooth picks, and thread. Mounted on a pine base.